![]()
Sunglasses for your Camera
Staring into the sun is a bad idea; For your eyes and your camera. Sunlight (and lasers) have been known to burn holes into sensors and retinas alike.
Aside from that too much light can also impact image quality. There is a limit on how much light an image sensor can process before maxing out and showing pure white (with no information).
There are a few methods to cut down the light, none of them without drawbacks.
01) Reduce Shutter Speed
Probably the worst parameter to adapt for exposure. Shutter speed literally describes how much light hits the sensor for each frame, expressed in a time value or a shutter angle value EXAMPLE: A standard value of 1/50 means that each frame is getting light for 1/50 of a second. Changing the shutter speed to 1/100 would mean that each frame is getting half the light.
THE PROBLEM: We manage the amount of light coming in, which we wanted. We also change the aesthetic and look of the video. Anything that moves during the exposure of a frame, be it the camera or the subject, will create motion blur. The amount of motion blur changes based on the shutter speed, with a high shutter speed almost entirely eliminating motion blur.
Motion blur is an underestimated aspect in video. Showing the (blurry) path of the motion of an object gives the viewer additional information about the trajectory.
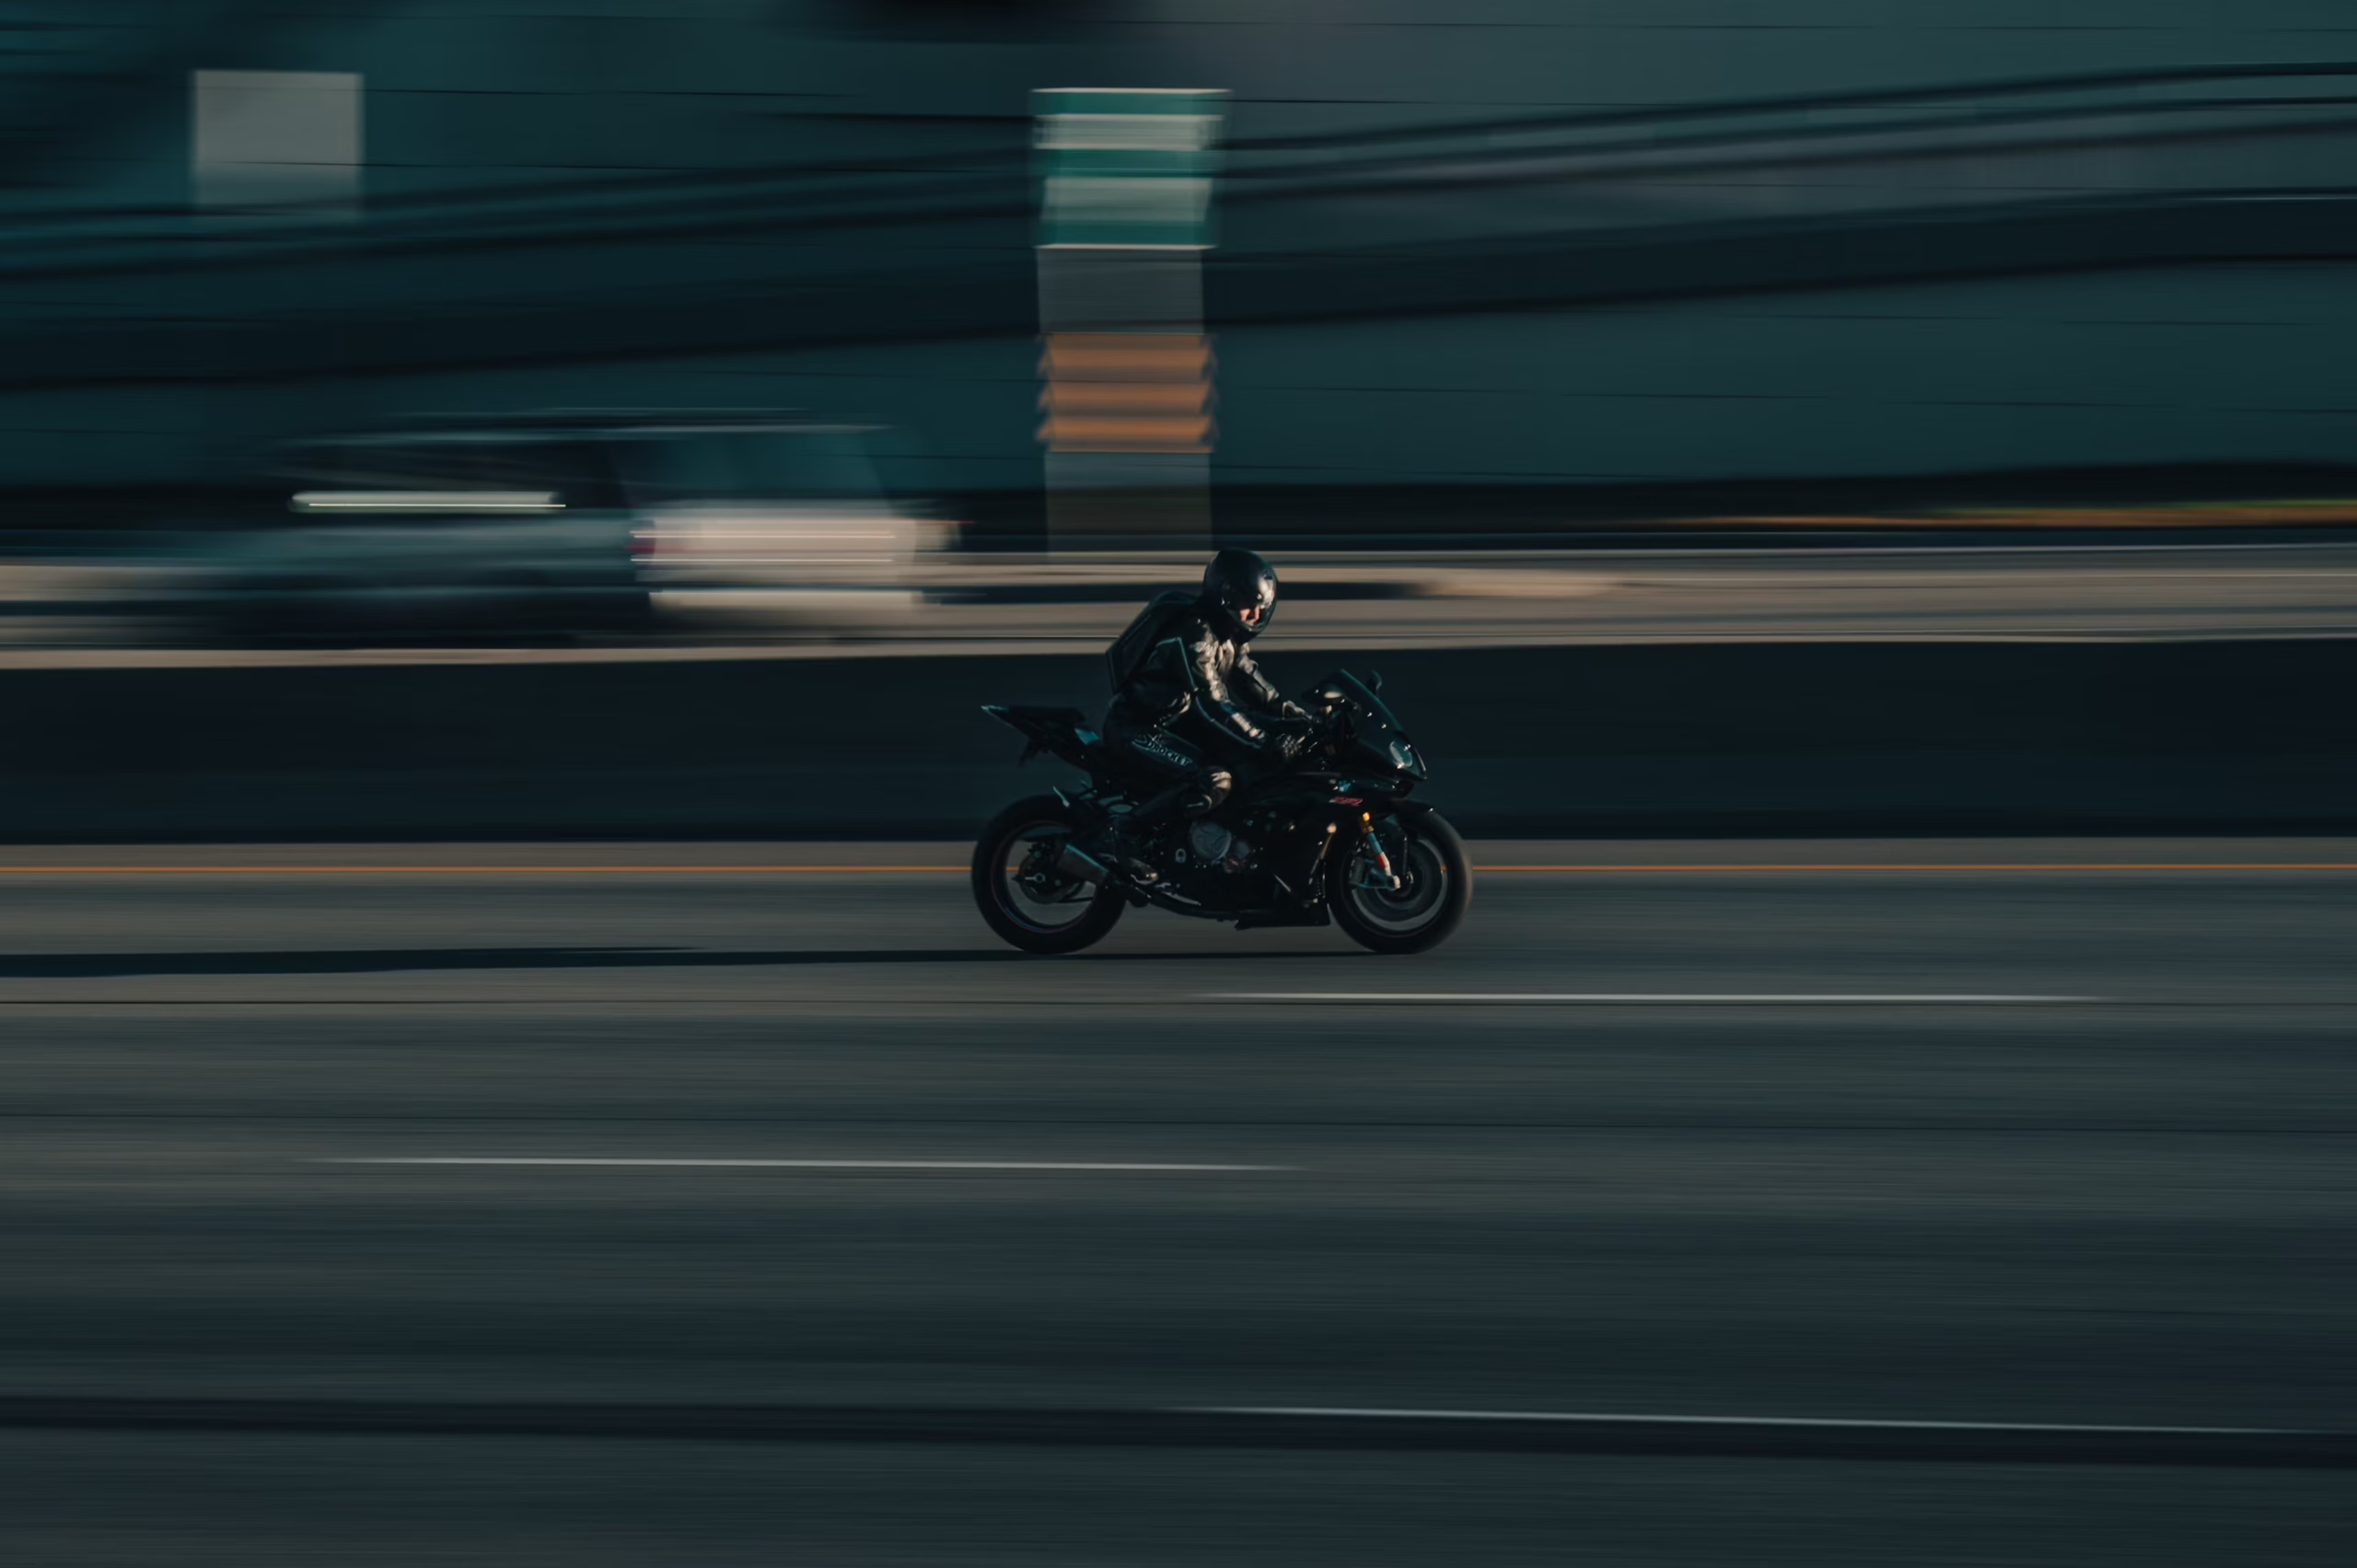
Image: Ryunosuke Kikuno, Tokyo Japan
Changing shutter speed should happen for creative reasons and only be used for exposure control as a last resort.
02) Close down the aperture
Just as with shutter speed, controlling the aperture gives direct control of how much light hits the sensor. And just like before, it comes with aesthetic changes. Closing down the aperture will increase the sharpness of the background and reduce foreground/background separation.

After closing down the aperture beyond a certain point (F/8, F/11, dependent on the lens), strange physical effects come into play, where the light interacts with the aperture blades and gets slightly bent, reducing image quality.
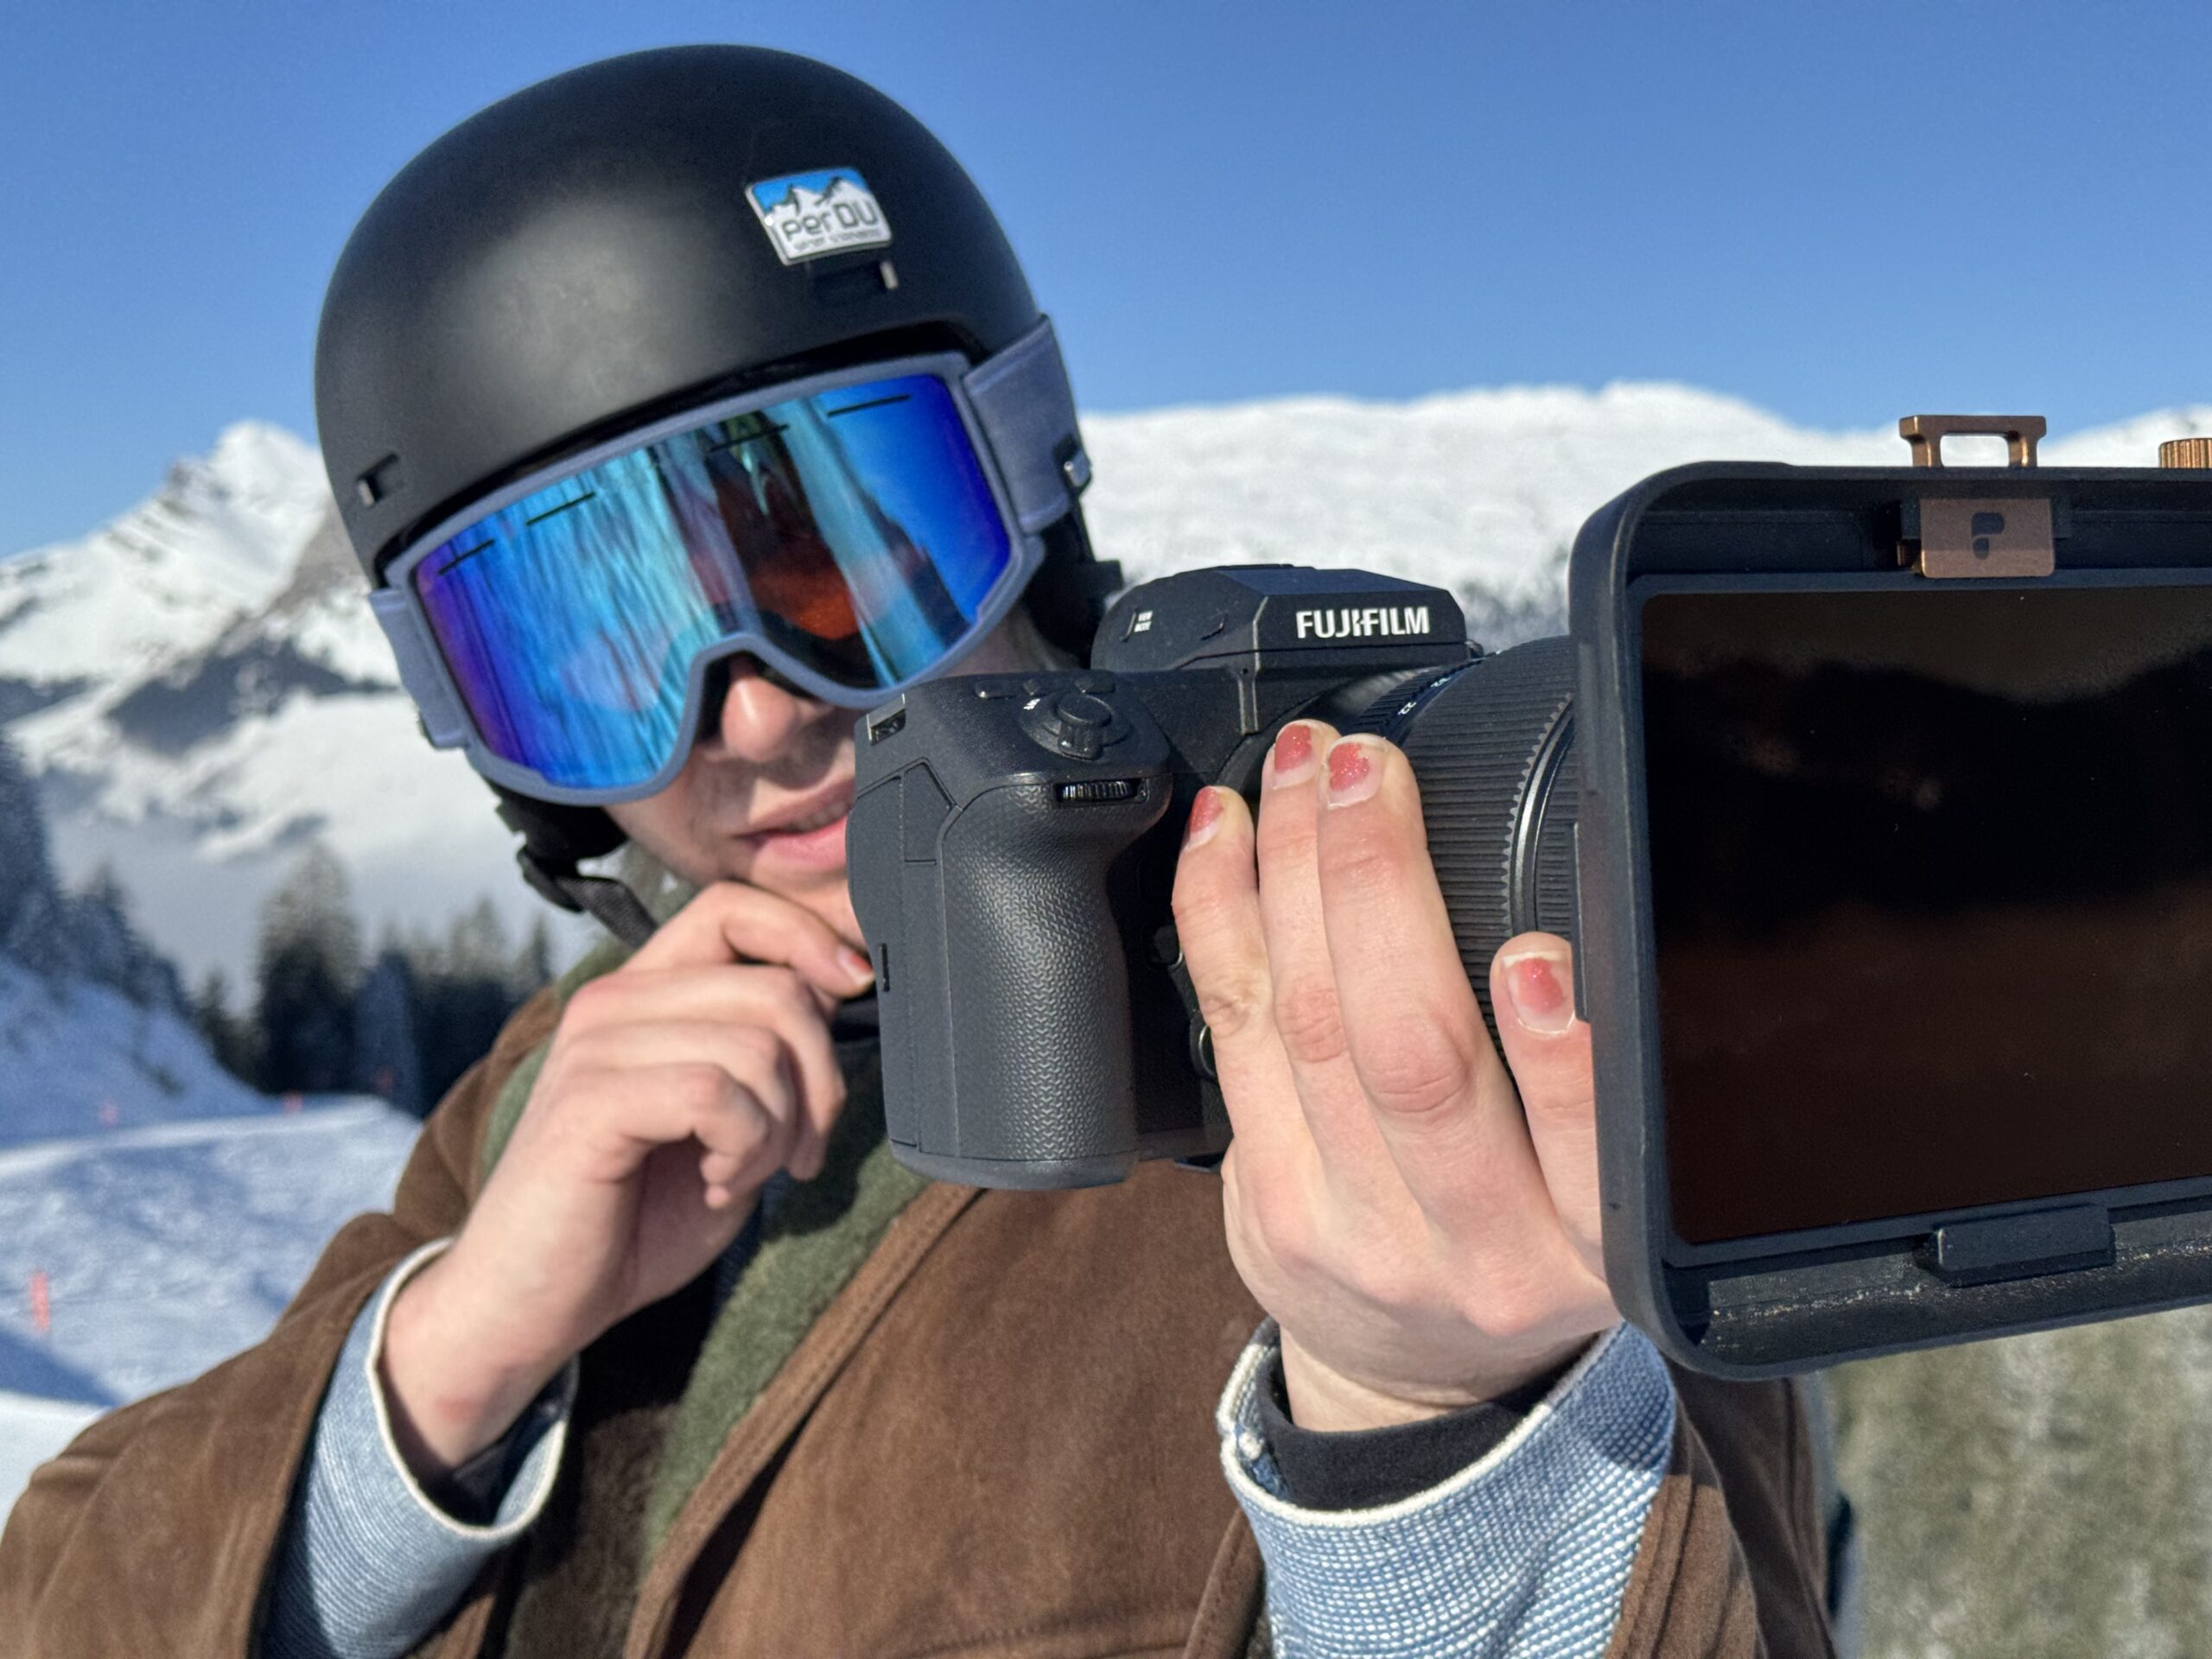
03) Sunglasses for your camera
The right way to handle bright shooting days is with the use of ND-Filters (Neutral Density). In theory, they are transparent filters that reduce the brightness without changing any of the creative parameters like aperture or shutter speed.
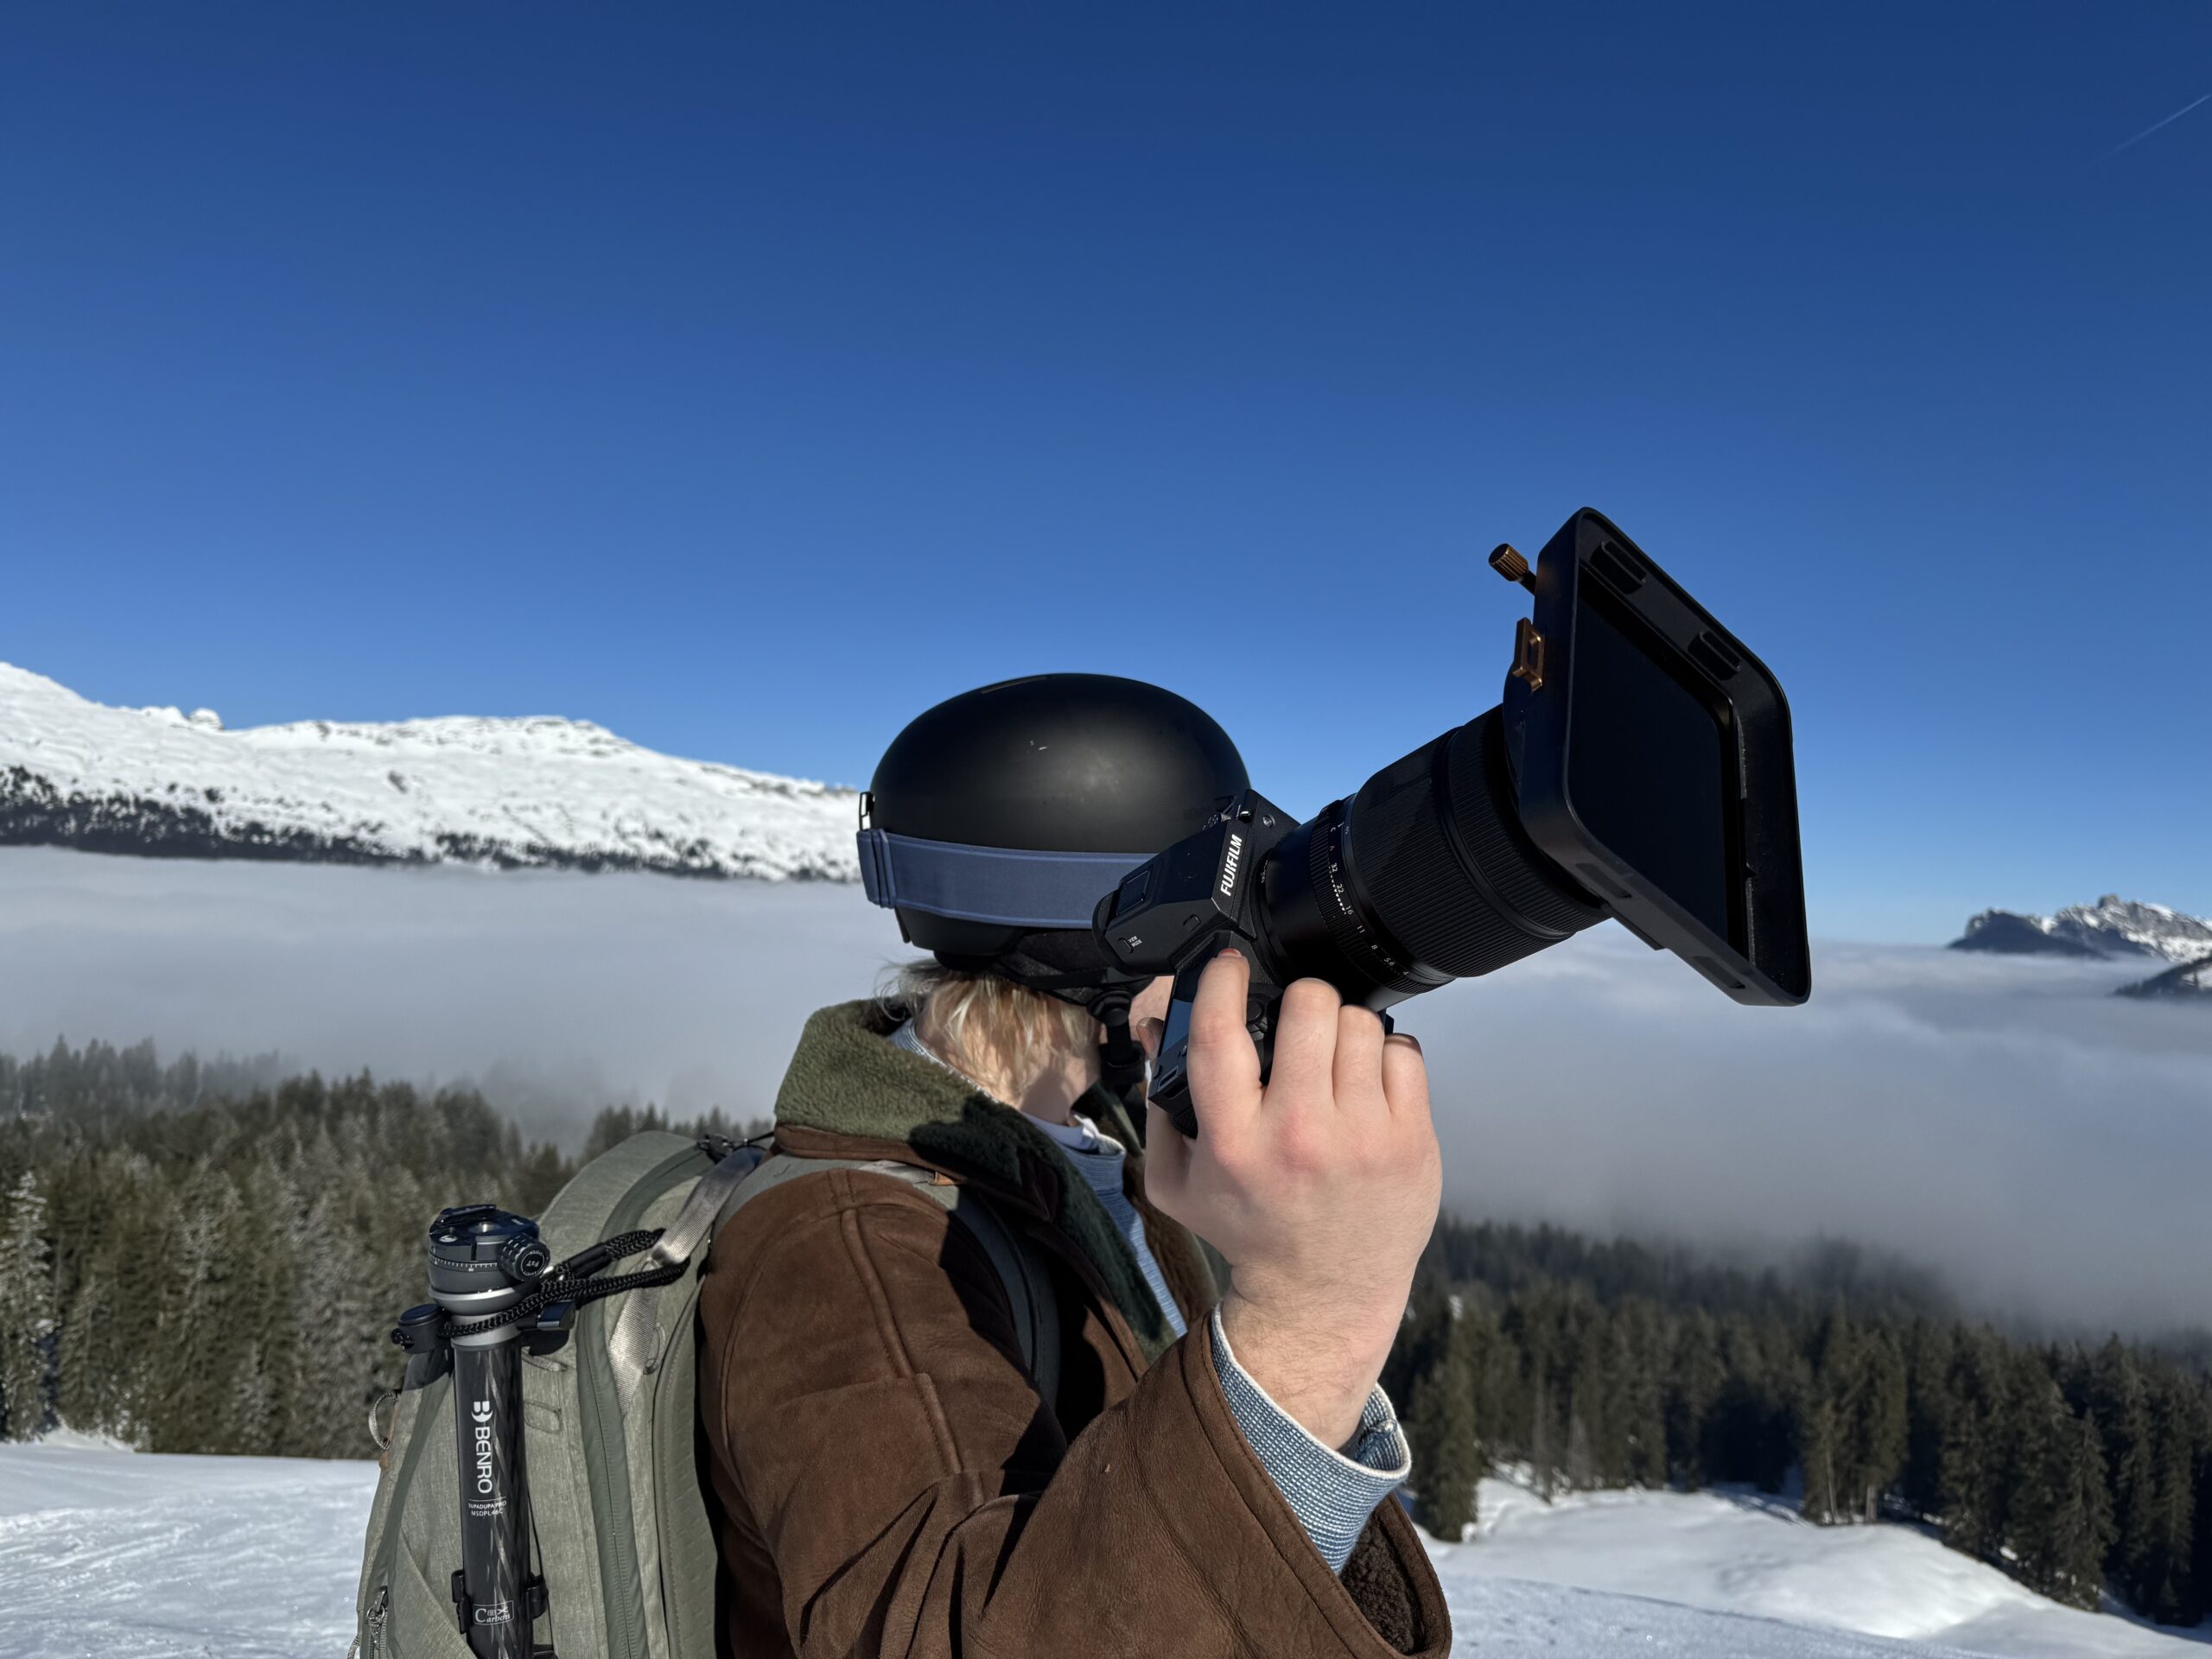
In reality they come with a slight color tint (less so the more expensive), which you either correct in post or embrace as part of the look. My current ND-Filter has a slight yellowish/greenish tint in the highlights, which I don’t mind for certain moods.
Platforms like the Canon C-Line or the Sony FX9 have built in electronic ND-Filters or ND-Filter wheels. They are a joy to use while shooting and for sure the best option, but those systems also increase the weight of the camera platform.
Same is true for big matte boxes mounted on rails and rigs. For my documentary shooting style, I found those to be overkill. My preferred method is a Clip-on Matte box with interchangeable glass planes.